Reference for Electric Motorcycle / Scooter Assembly Process
This two-wheel electric motorcycle / scooter assembly process, aligned with top domestic manufacturers’ standards, follows a systematic workflow centered on the frame, adhering to “mechanics first, electronics second; inner parts first, outer parts later” principles. Starting with pre-assembly preparation (material sorting, tool calibration), it proceeds through 10 core stages: chassis pre-assembly, motor/transmission fitting, suspension installation, wheel/brake assembly, steering/control component mounting, electrical harness laying, battery/controller fitting, instrument/lighting setup, exterior part assembly, and final commissioning. Each step enforces strict quality checks—such as torque control (±5% error), dimensional accuracy (e.g., 0.3mm frame fixture tolerance), and functional testing (speed limit ≤25km/h, braking distance ≤4m at 20km/h). Post-assembly road tests and traceability coding ensure 100% compliance with national standards and product quality consistency.
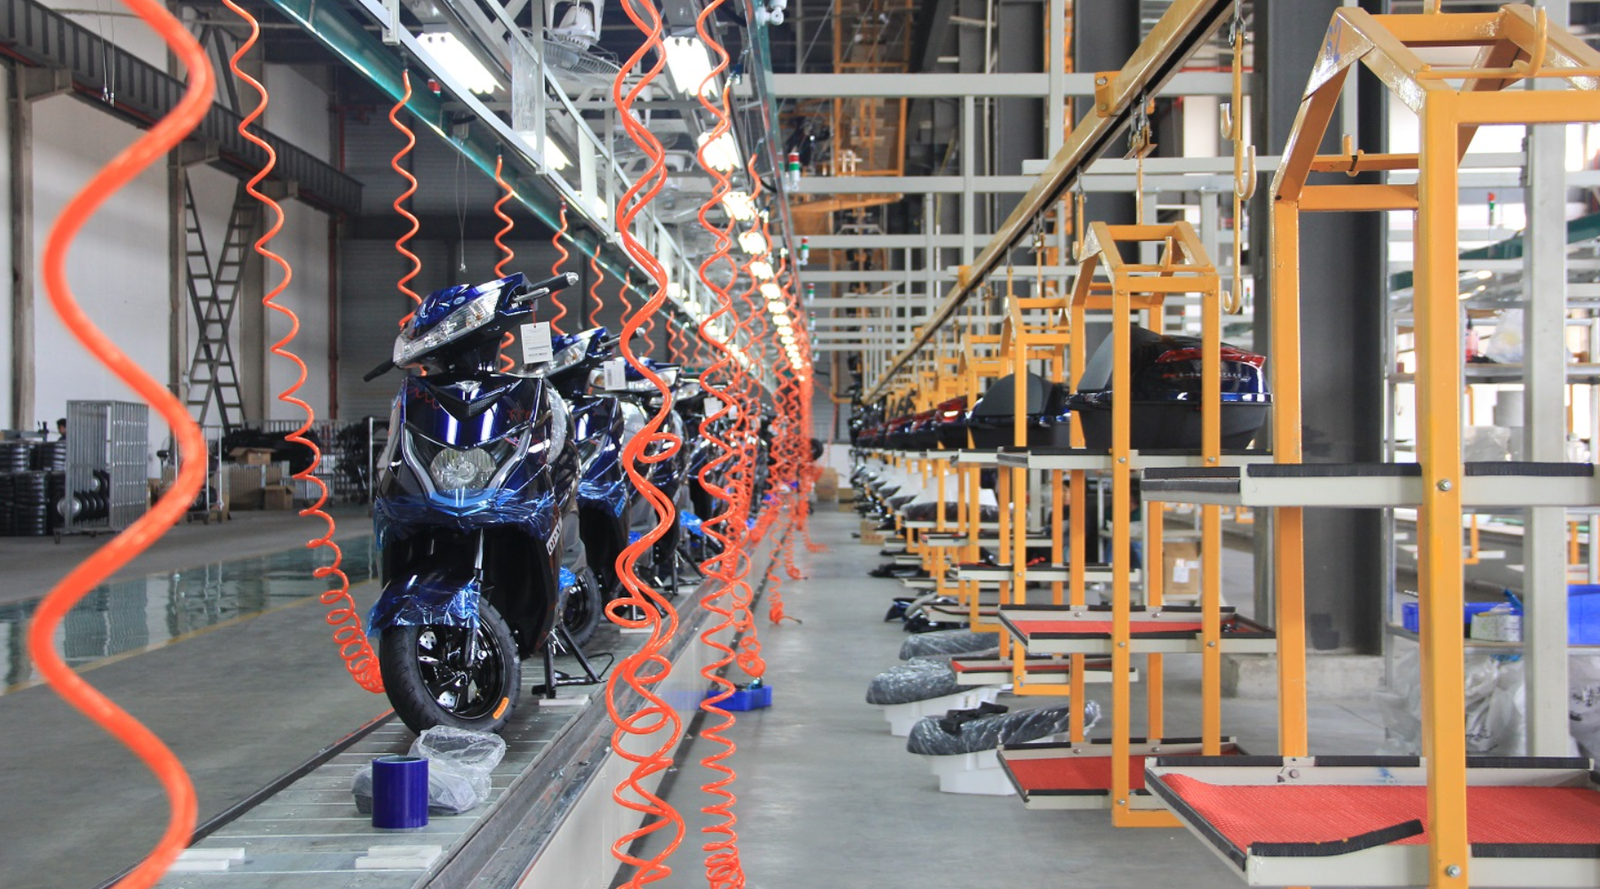
Two-wheel Electric Scooter Assembly Process (Top Domestic Manufacturer Standard)
Pre-assembly Preparation StageMaterials/Equipment
Complete material sorting and tooling calibration according to work orders to prepare for assembly
- Material sorting: SPS material distribution system sorts parts according to BOM, key parts (battery/motor) are scanned for traceability, AGV delivers to workstations
- Part pre-processing: Apply lubricating grease to motor shafts/bearings, clean wire harness connectors, test battery voltage
- Equipment calibration: Calibrate torque wrenches and detectors before shift, torque error ≤±5%; Level frame fixtures (error <0.3mm)
Frame Loading and Chassis Pre-assemblyMechanical Foundation
Take the frame as the core carrier to complete the pre-assembly of basic chassis components
- Hoist the frame to the positioning fixture and lock it to prevent assembly displacement
- Install frame bottom nut seats, wire harness rubber sleeves, motor suspension brackets, battery compartment brackets
- Pre-tighten bolts according to specified torque to ensure accurate installation benchmarks
Motor and Transmission System AssemblyCore Power
Complete the assembly of core power components to ensure smooth transmission
- Hub motor: Install into rear fork, tighten motor shaft nut (torque 45-50N·m), add phase line protective sleeve
- Mid-mounted motor: Hoist to bracket, install chain/sprocket, adjust sag to 10-15mm, add anti-chain drop device
Suspension and Support Components AssemblyRunning System
Assemble shock absorption and support components to ensure driving stability
- Front shock absorber: Insert into steering column connecting plate, tighten bolts (30-35N·m), adjust damping to factory value
- Rear shock absorber: Connect frame and rear fork to ensure smooth expansion and contraction (single/double shock absorber adapted to models)
- Install main/side stands, adjust angle to ensure stable parking, no jamming in rebound
Wheel and Brake System AssemblySafety System
Complete wheel installation and brake system commissioning to ensure driving safety
- Front wheel assembly: Install into front shock absorber, tighten axle nut (40-45N·m), install fender
- Disc brake: Install caliper/brake disc (gap 0.1-0.2mm), drain air from oil pipe, firm hand feel
- Drum brake: Adjust cable tightness, brake handle stroke in 1/3-1/2 range
- Tire inflation: Front 2.0bar, rear 2.2bar (2.3-2.5bar for load-bearing models)
Steering and Control Components AssemblyControl System
Assemble steering and control components in accordance with ergonomic design
- Install handlebars, handlebar switches, throttle grip, handle angle 15°-20°
- Connect throttle Hall signal wire, adjust cable tightness to ensure smooth return
- Install rearview mirrors, adjust field of view, tighten to prevent loosening
Electrical System Main Harness LayingElectrical Foundation
Complete main harness laying and connection of core electrical connectors
- Lay main harness according to wiring slot, fix with cable ties (spacing 20-30cm) to avoid friction/pulling
- Connect motor phase lines (red/yellow/blue) with controller, tighten wiring terminals
- Install fuse box/relay, fuse specification matches (e.g. 48V20Ah with 20A)
Battery and Controller AssemblyElectronic Control Core
Complete assembly of core electronic control components to ensure electrical matching
- Battery installation: Put into battery compartment, connect positive pole first then negative pole, lock fixing strap to prevent displacement
- Controller installation: Fix in controller box/frame, add waterproof sleeve, connect all connectors
- Connect BMS wire harness to ensure normal communication
Instrument and Lighting System AssemblyElectrical Accessories
Complete assembly of instrument and lighting system to ensure normal functions
- Install instrument panel, test normal display of power/speed/fault code
- Assemble headlight/turn signal/tail light, adjust headlight irradiation angle (height 0.8-1.0m at 10m)
- Install horn and USB charging port, test stable power supply
Exterior Parts AssemblyInterior & Exterior Trim
Complete assembly of interior and exterior trim parts to ensure appearance consistency
- Pre-assembly: Foot pedals, seat lock, battery compartment cover, inner panel brackets
- Final assembly: Side panels, front panel, rear skirt, fixed with buckles/bolts (plastic part torque 8-10N·m)
- Install seat, paste nameplate/3C certification mark/warning signs
Vehicle Commissioning and Off-line InspectionFinal Inspection
Complete vehicle function commissioning and compliance inspection to ensure factory qualification
- Power-on self-test: No fault code on instrument, normal functions of lights/horn/brake power-off
- Power test: Smooth rotation of rear wheel, sensitive brake power-off, calibrated speed limit ≤25km/h
- Road test: Smooth acceleration, braking distance ≤4m (20km/h), no deviation
- Final inspection and rectification: Full inspection of appearance/function/torque, rectify unqualified items offline
- Cleaning and packaging: Clean the whole vehicle, add protection, scan code for warehousing and traceability